
- RouteServiceProvidorが削除された背景
- Laravel11で独自のルーティングファイルを定義し、追加する方法
- フレームワークの処理まで徹底解説
RouteServiceProvidorが削除された背景
まず、Laravel11より前では5つのプロパイダーが存在していました。
AuthServiceProviderBroadcastServiceProviderEventServiceProviderRouteServiceProviderAppServiceProvider
RouteServiceProvidorに独自で作成したルーティングファイルを読み込ませることで定義することができます。
<?php

namespace App\Providers;

use Illuminate\Foundation\Support\Providers\RouteServiceProvider as ServiceProvider;
use Illuminate\Support\Facades\Route;

class RouteServiceProvider extends ServiceProvider
{
    public function boot(): void
    {
        $this->routes(function () {
            Route::middleware('web')
                ->group(base_path('routes/web.php'));

            Route::prefix('api')
                ->middleware('api')
                ->group(base_path('routes/api.php'));

            // 独自のルーティングファイルを読み込む
            Route::middleware('web')
                ->group(base_path('routes/custom.php'));
        });
    }
}
しかし、Laravel11ではこれがbootstrap/app.phpに実装するよう変更されました。
return Application::configure(basePath: dirname(__DIR__))
    ->withRouting(
        web: __DIR__.'/../routes/web.php',
        commands: __DIR__.'/../routes/console.php',
        health: '/up',
    )
    ->withMiddleware(function (Middleware $middleware) {
        //
    })
    ->withExceptions(function (Exceptions $exceptions) {
        //
    })->create();
Laravel 11では、アプリケーションの設定や構成を一元化し、開発者がより直感的に管理できるよう、bootstrap/app.phpファイルが強化されました。これに伴い、ルーティングのカスタマイズや他の設定が従来の場所からbootstrap/app.phpに移行されています。
Laravel11で独自のルーティングファイルを定義し、追加する方法
次にカスタムルーティングファイルを作成します。今回はroutes/auth.phpを作成し、解説します。
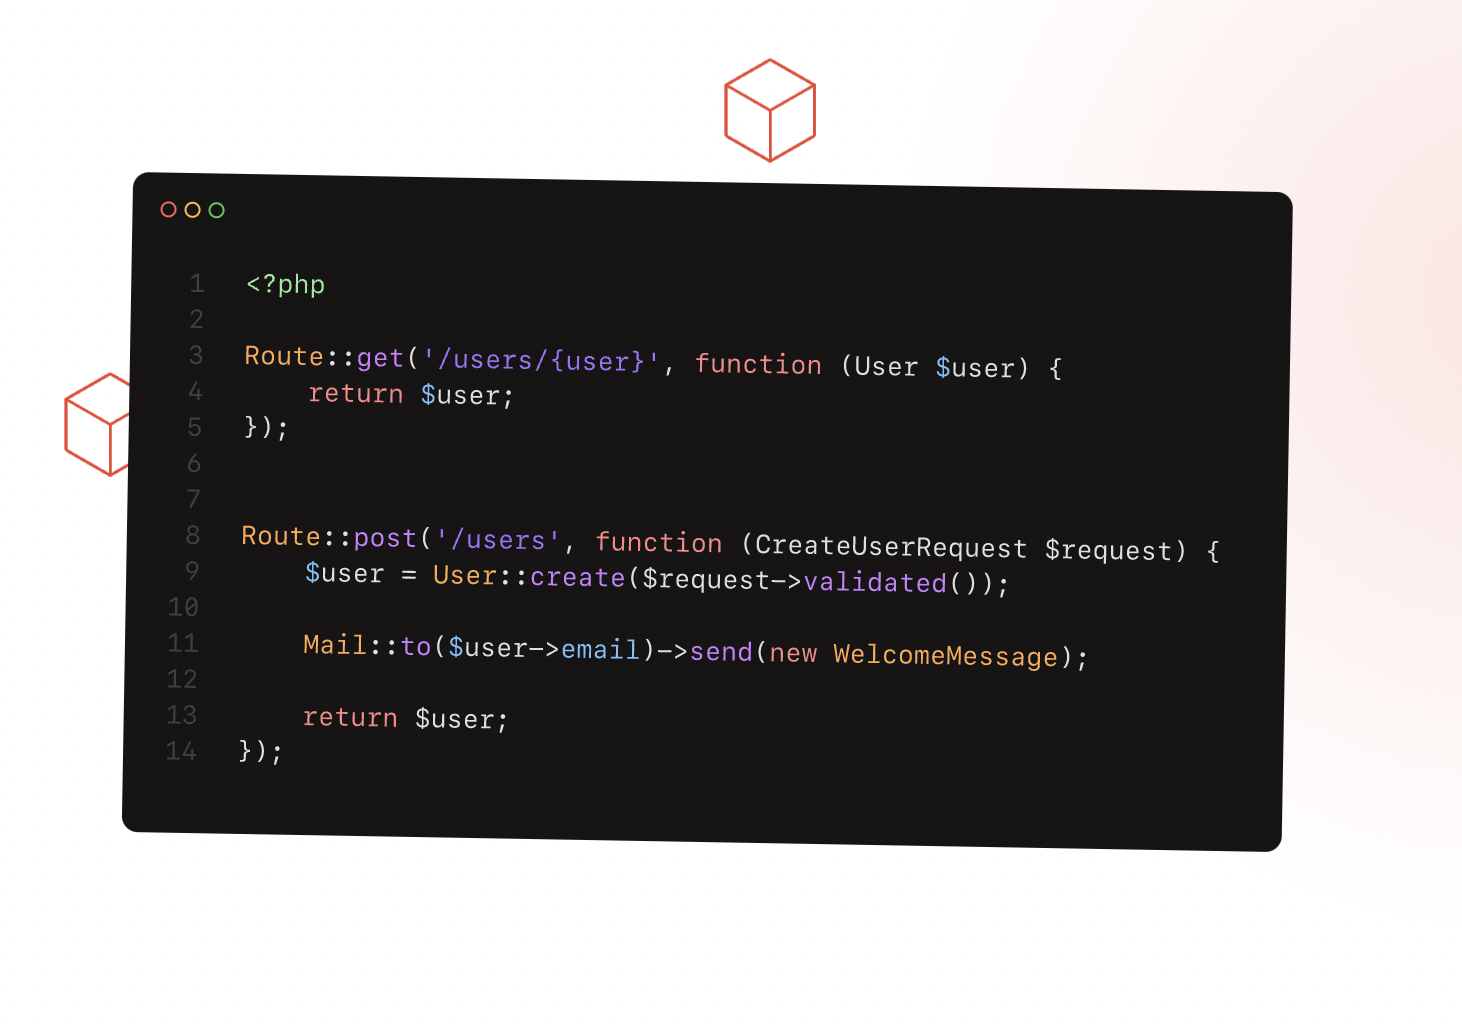
<?php

use Illuminate\Support\Facades\Route;

Route::get('/', function () {
    dd('Auth Routing');
});
bootstrap/app.phpに作成したroutes/auth.phpを追加します。middlewareやprefixは適正なものを指定してください。
<?php

use Illuminate\Foundation\Application;
use Illuminate\Foundation\Configuration\Exceptions;
use Illuminate\Foundation\Configuration\Middleware;
use Illuminate\Support\Facades\Route;

return Application::configure(basePath: dirname(__DIR__))
    ->withRouting(
        web: __DIR__.'/../routes/web.php',
        api: __DIR__.'/../routes/api.php',
        commands: __DIR__.'/../routes/console.php',
        health: '/up',
        // 追加
        using: function () {
            Route::middleware('api')
                ->prefix('auth')
                ->group(base_path('routes/auth.php'));
        }
    )
    ->withMiddleware(function (Middleware $middleware) {
        //
    })
    ->withExceptions(function (Exceptions $exceptions) {
        //
    })->create();
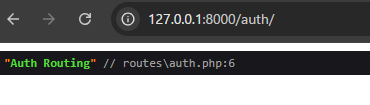
この結果、実際にアクセスしてみると、独自で作成したカスタムルーティングファイルが読み込まれています!
フレームワークの構造まで徹底解説
最後に、Laravel11で追加されたwithRoutingメソッド。一体何をしているのでしょうか?
メソッドの実装は以下のようになっています。本記事に関わるところを順序立てて解説します。
Closureを使用しているため、知らないよという方は以下記事を参考にしてください。

    /**
     * Register the routing services for the application.
     *
     * @param  \Closure|null  $using
     * @param  array|string|null  $web
     * @param  array|string|null  $api
     * @param  string|null  $commands
     * @param  string|null  $channels
     * @param  string|null  $pages
     * @param  string  $apiPrefix
     * @param  callable|null  $then
     * @return $this
     */
    public function withRouting(?Closure $using = null,
        array|string|null $web = null,
        array|string|null $api = null,
        ?string $commands = null,
        ?string $channels = null,
        ?string $pages = null,
        ?string $health = null,
        string $apiPrefix = 'api',
        ?callable $then = null)
    {
        if (is_null($using) && (is_string($web) || is_array($web) || is_string($api) || is_array($api) || is_string($pages) || is_string($health)) || is_callable($then)) {
            $using = $this->buildRoutingCallback($web, $api, $pages, $health, $apiPrefix, $then);

            if (is_string($health)) {
                PreventRequestsDuringMaintenance::except($health);
            }
        }

        AppRouteServiceProvider::loadRoutesUsing($using);

        $this->app->booting(function () {
            $this->app->register(AppRouteServiceProvider::class, force: true);
        });

        if (is_string($commands) && realpath($commands) !== false) {
            $this->withCommands([$commands]);
        }

        if (is_string($channels) && realpath($channels) !== false) {
            $this->withBroadcasting($channels);
        }

        return $this;
    }
1.ルーティングの定義を決定
if (is_null($using) && (is_string($web) || is_array($web) || is_string($api) || is_array($api) || is_string($pages) || is_string($health)) || is_callable($then)) {
    $using = $this->buildRoutingCallback($web, $api, $pages, $health, $apiPrefix, $then);

    if (is_string($health)) {
        PreventRequestsDuringMaintenance::except($health);
    }
}
条件の確認
$usingが未指定の場合、$web、$api、$pages、$healthなどが指定されていれば、buildRoutingCallbackを使ってルーティングの定義を構築。$thenが指定されている場合も同様。
ヘルスチェックの例外設定
$healthが指定されている場合、メンテナンスモード中でもアクセス可能にするための例外が登録されます。AWS等でヘルスチェックしている場合はとても便利。開発者が意識しなくても勝手にやってくれるLaravelは最高。
2.カスタムルーティングの登録
AppRouteServiceProvider::loadRoutesUsing($using);AppRouteServiceProvider の loadRoutesUsing メソッドを通じて、ルーティングの設定を登録します。$using にカスタムルーティング定義が渡されます。
    /**
     * Register the callback that will be used to load the application's routes.
     *
     * @param  \Closure|null  $routesCallback
     * @return void
     */
    public static function loadRoutesUsing(?Closure $routesCallback)
    {
        self::$alwaysLoadRoutesUsing = $routesCallback;
    }
loadRoutesUsing メソッドは、ルートの読み込み時に実行されるコールバック(Closure)を登録します。このコールバックを設定することで、アプリケーションのルート定義を動的にカスタマイズすることができます。天才ですね。
3.ルーティングの登録
最後はLaravelアプリケーションのインスタンス($this->app)にAppRouteServiceProviderを登録してルーティング設定完了です!
        $this->app->booting(function () {
            $this->app->register(AppRouteServiceProvider::class, force: true);
        });
まとめ
Laravel11で独自のカスタムルートファイルを追加する方法とフレームワーク処理まで解説しました。
ヘルスチェックの例外設定を見て、確かに必要だよなと思わされた次第です。
様々なことを想定して作られているのがLaravelなので、先人から学んでいきたいですね